Are you tired of having your Blender characters just stand there like statues in the face of danger? Well, it’s time to bring out their inner fighter and give them some moves to defend themselves!
That’s right, friends. Just like a skilled puppeteer can bring a lifeless puppet to life with their movements and gestures, I too was able to animate my Blender character’s to be as energetic and dangerous as I wanted it to be.
Nice, but how?
Actually there is no one size fits all approach, but these are my “rules”:
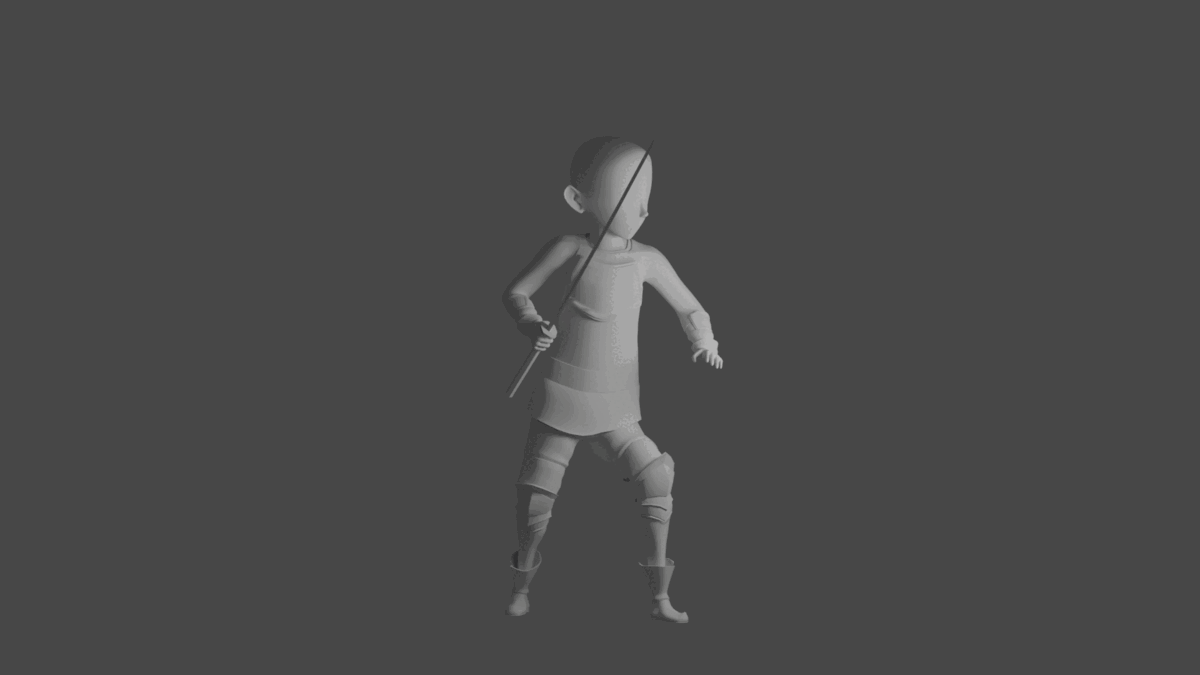
- Choose a weapon. Whether it’s a sword, a bow, or a simple punch, decide what weapon your character will use to attack.
- Plan out your attack. Think about the steps involved in performing the attack and how you can break it down into smaller movements (hit pose, windup, recoil, idle). These are your key poses and they will be used later.
- Get a grip. In the world of puppetry, a good grip is key. The same goes for your Blender character’s weapon. Make sure it’s properly attached to your character’s armature so that you can control its movements.
- Pull the strings (and the triggers). Just like a puppeteer uses strings to control the movements of their puppets, you can use Blender’s “key frames” to control the movements of your character’s weapon. Experiment with different combinations of movements to see what looks best. Normally I go with idle > windup > extension > hit > extension > recoil > idle.
And that’s it!
Bottom Line
Animating is actually pretty fun and if you change a little detail, the whole feeling of the animation will change, which I think is pretty cool!
So, grab your weapons and let the battle begin! See you next time.
One thought on “#2 blender stuff | animate your attacks”
Comments are closed.